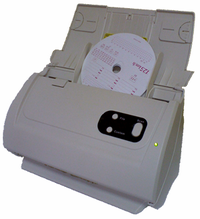
Roller scanner
To start the scanning process, place a specific number of disks (max. 50) in the scanner feed, all with their side with a chart turned towards the inside of the scanner. The angle of a disk teardrop pointer rotation is unimportant (Fig. bellow).
Before the start of scanning, you can use the "Default settings". In the settings window, you can select a driver, vehicle, date of the first disk (each subsequent scanned disk date will be one day later). Data inserted in this window will be filled out automatically on each scanned disk. To be able to keep correct automatic count of dates during scanning the disks of the same driver one by one, it is recommended to place clean sheets of paper instead of the disks with days off or days without driving (no disk). |
|
After placing the disks in the feed, start scanning using the following:
•click on the: ![]() icon located in the TachoScan tab in the toolbar;
icon located in the TachoScan tab in the toolbar;
•click key combination ![]()
![]()
![]() ;
;
•from the main menu TachoScan, select the option Scan.
After scanning, the program will open the last record sheet in the record sheet preview edit tab, and the rest will be displayed in the Unsaved record sheets panel. Each record sheet should be reviewed, data should be completed and saved.
See also:
Driver card and record sheet data
Record sheet preview/edition window

